
The ($) value of a Small Garden
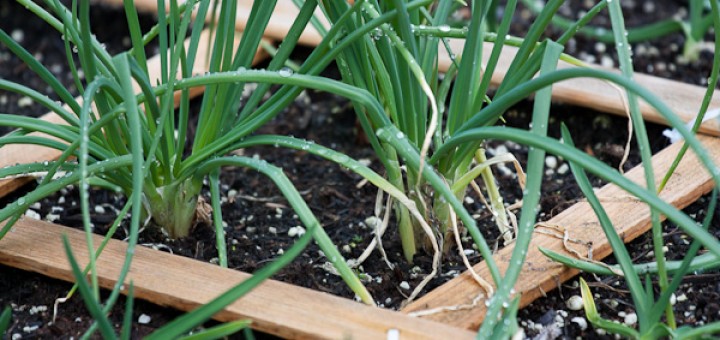
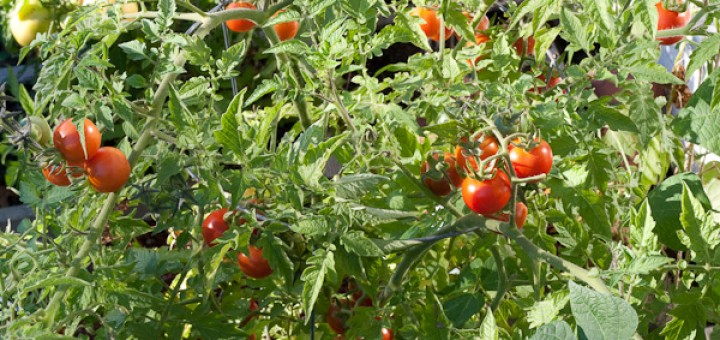
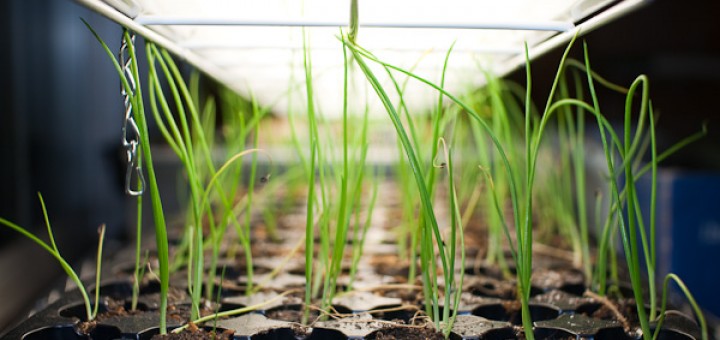
In learning about growing potatoes (since our potatoes should arrive in the next couple days), I stumbled into an article about the dollar value of produce a small home garden can produce. Link: http://www.motherearthnews.com/Organic-Gardening/Square-Foot-Gardening-Food.aspx That article...
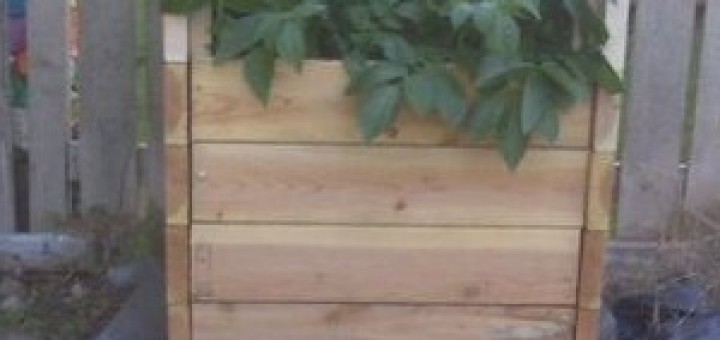
 TOM ALPHIN builds