LEGO Architecture @ BrickArchitect.com
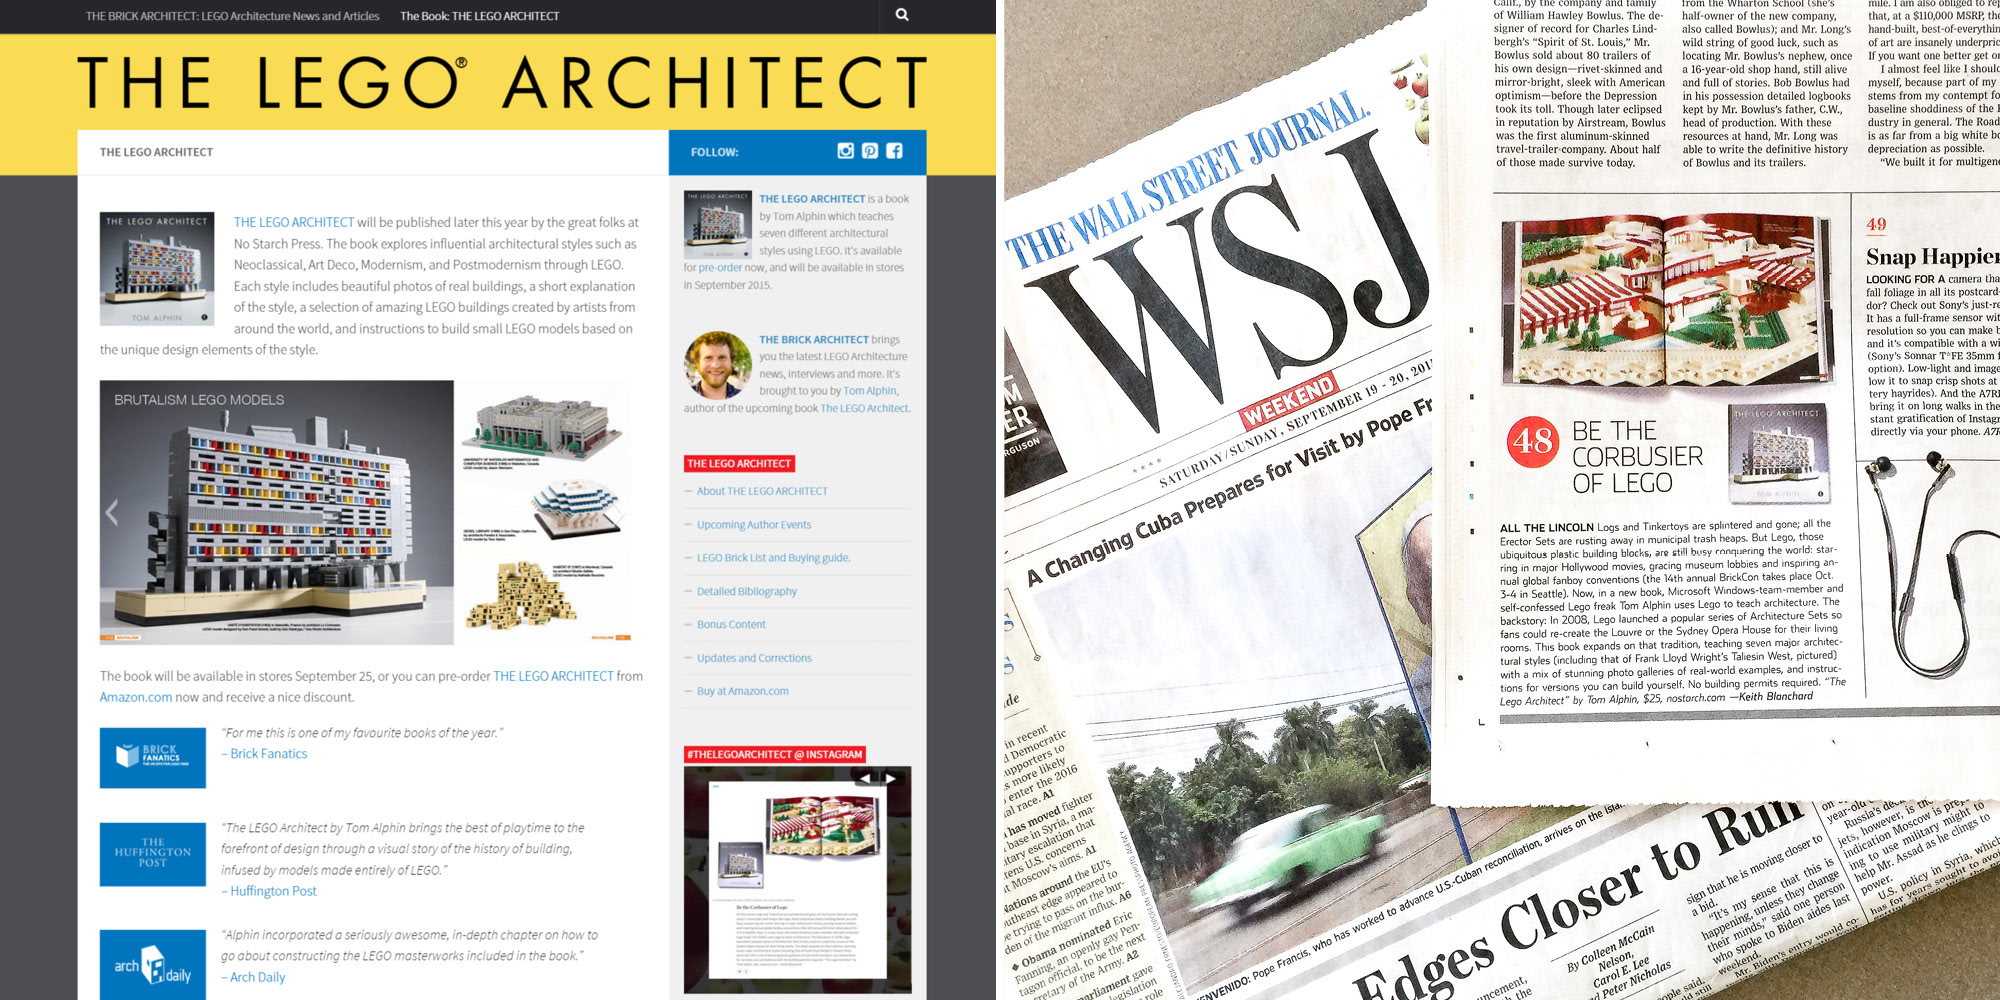
My book, The LEGO Architect is coming out later this week! In preparation for the book’s release, I’ve built a new website dedicated to LEGO Architecture. The new website has two sections: A news...

My book, The LEGO Architect is coming out later this week! In preparation for the book’s release, I’ve built a new website dedicated to LEGO Architecture. The new website has two sections: A news...
I’ve worked at Microsoft on the Windows team for a long time, and this resulted in a unique opportunity to share one of my photos with the world. Learn how a photograph I took on vacation in Canada ended up on millions of PC’s running Windows 7.
I’m writing a book about LEGO Architecture! Learn more about my upcoming book which teaches popular architectural styles like Neoclassical, Art Deco, Modernism, and Postmodernism through LEGO. It will be published by No Starch Press later this year.
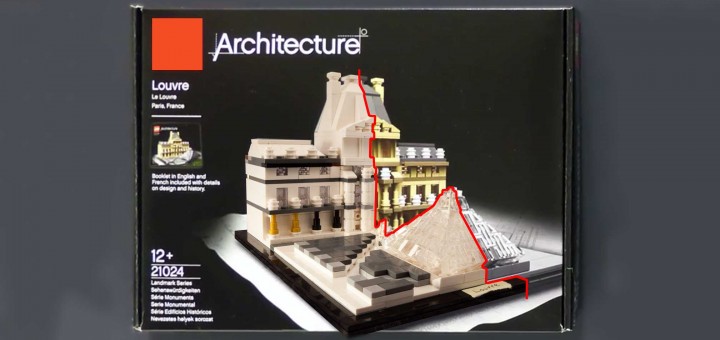
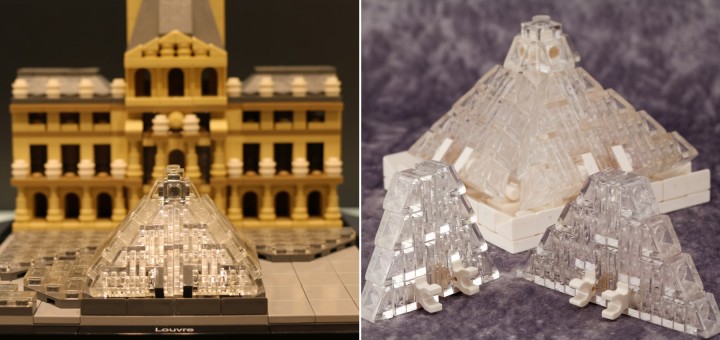
This is the third and final article in my in-depth preview of the upcoming LEGO Architecture Set #21024 featuring The Louvre museum in Paris, France. (Go back and read Part 1 – the Glass...
This is part 2 in reverse-engineering the upcoming LEGO Architecture Louvre set #21024. (Go back and see how to build I.M Pei’s glass pyramid in Part 1.) Today I wanted to build the courtyard...
Part 1 of my article reverse engineering the upcoming LEGO Architecture set featuring the Louvre.
You should see these short LEGO Architecture films: Culture Show: LEGO – Building Blocks of Architecture, an Interview with LEGO Architecture builder Adam Reed Tucker, and more….
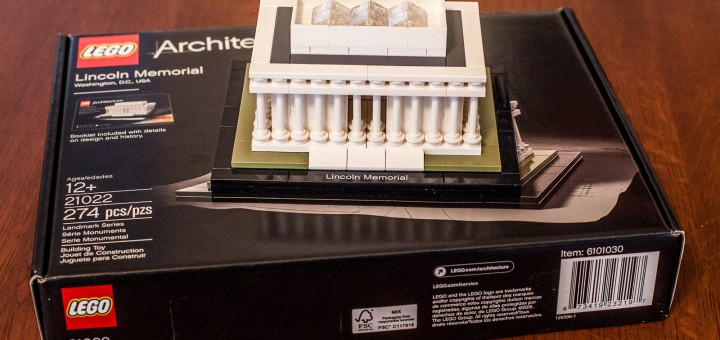
I just found the latest new set in the LEGO Architecture series in a Toys R’Us store while on vacation in West Virginia. The set isn’t officially released until January, so I jumped at...
Check out the Halloween costumes my wife, Coworkers and I created based on our favorite characters from the recent LEGO movie. (Hint, I was the most enthusiastic master builder of them all!)
This year was my first time participating in the private BrickCon convention for Adult LEGO fans, instead of crowding in with thousands of LEGO fans of all ages during the short Public Exhibition. Since...
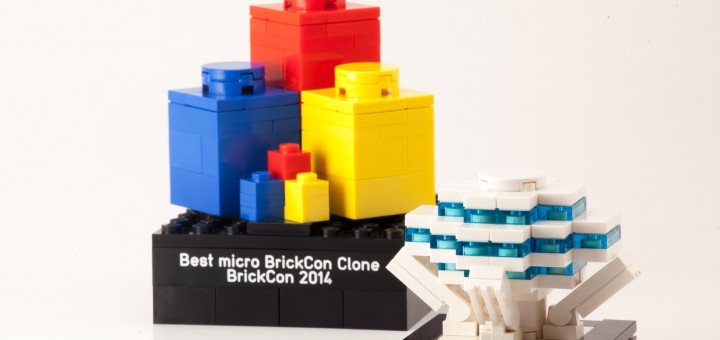
This year’s BrickCon LEGO Convention in Seattle ended yesterday, and I am excited to say that I was awarded a prize! No, it wasn’t for the largest model I had on display, the Geisel...
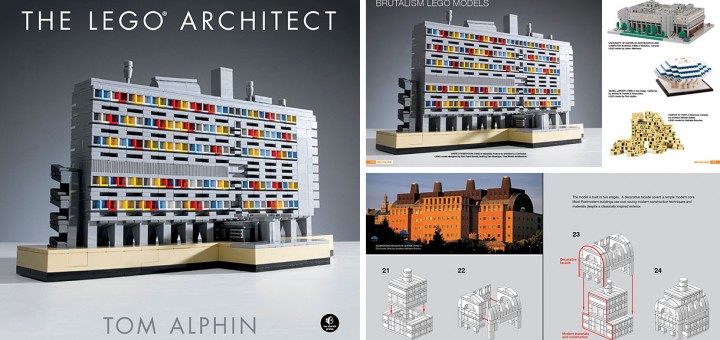
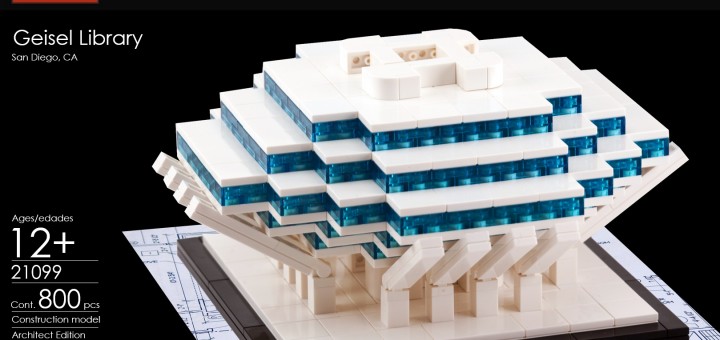
This model of the Geisel Library is featured in my book: The LEGO Architect. The book includes a whole chapter devoted to Brutalist architecture, including photos of real buildings, amazing LEGO models, a brief...
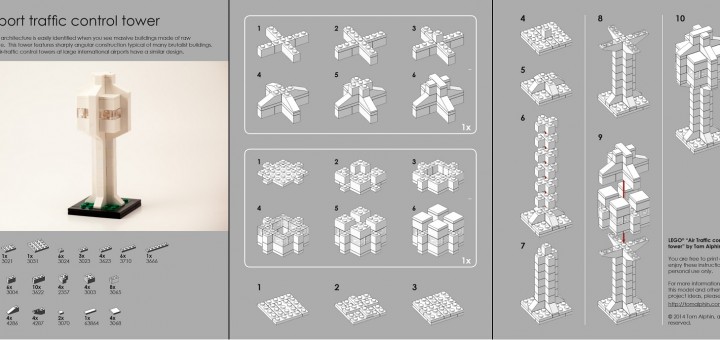
I created a set of instructions to build a small LEGO Airport Traffic Control tower in a Brutalist architectural style. You can download and print the directions at home and build it yourself!


 TOM ALPHIN builds