
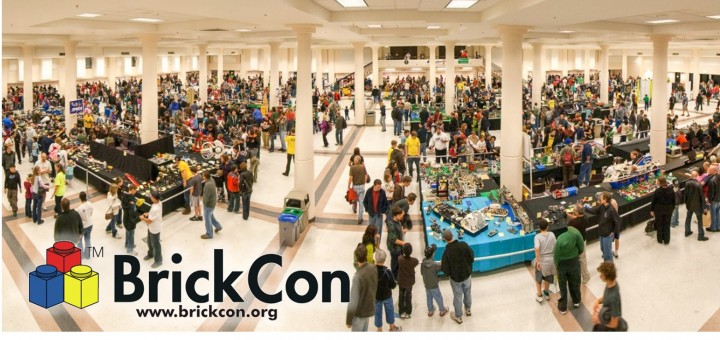
Getting excited for Brickcon Seattle 2014, October 4-5
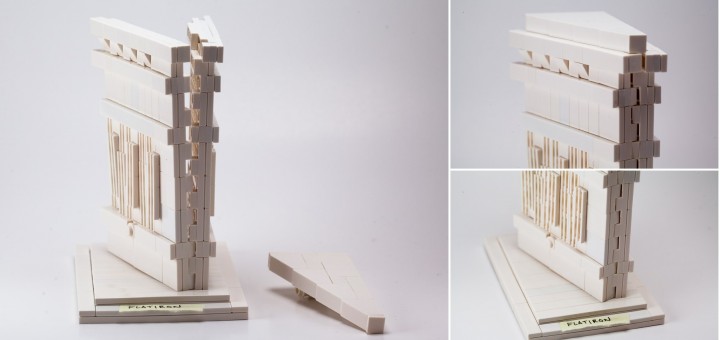
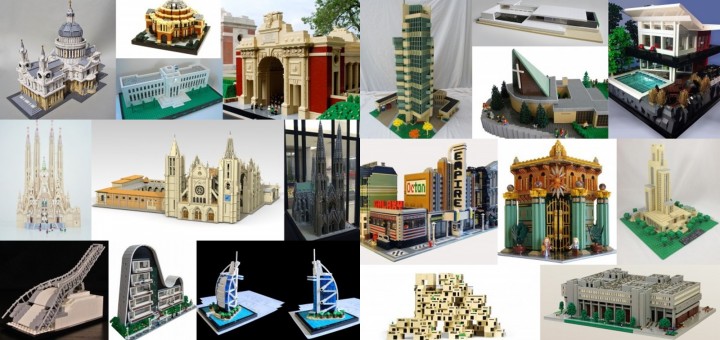
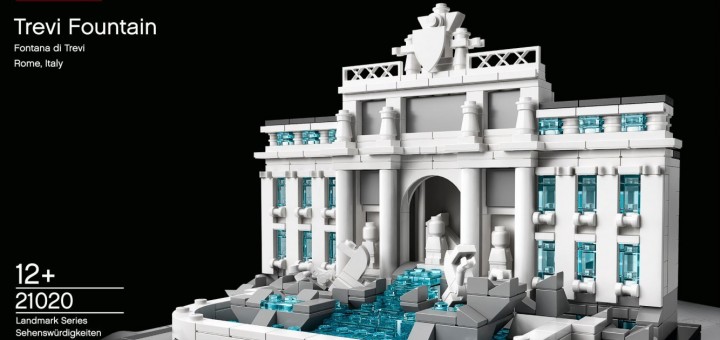
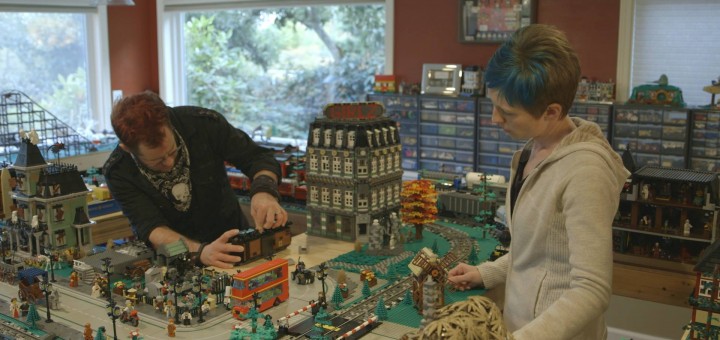
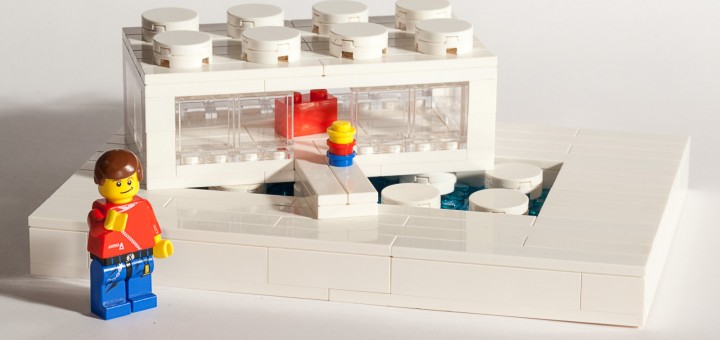
BrickCon 2014 is coming soon; this October 4-5 at the Seattle Center Exhibition Hall. See some of the highlights from past years, and get a sneak peek of a model that I’m planning to display for the first time at the convention.

 TOM ALPHIN builds