LEGO Architecture @ BrickArchitect.com
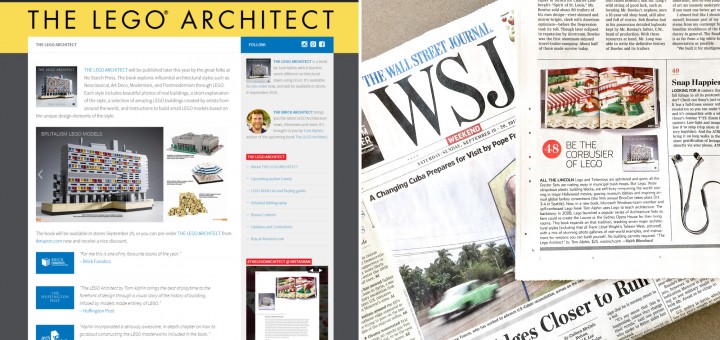
My book, The LEGO Architect is coming out later this week! In preparation for the book’s release, I’ve built a new website dedicated to LEGO Architecture. The new website has two sections: A news...

My book, The LEGO Architect is coming out later this week! In preparation for the book’s release, I’ve built a new website dedicated to LEGO Architecture. The new website has two sections: A news...
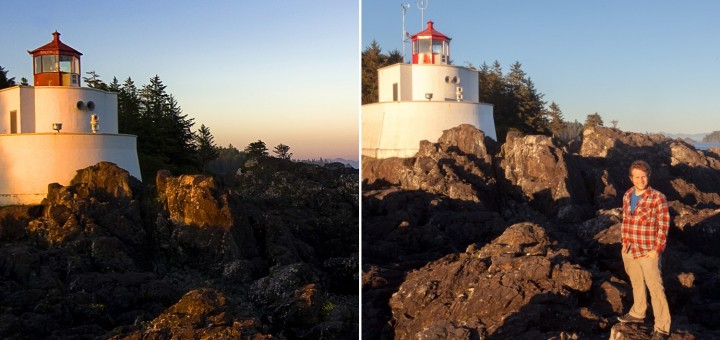
I’ve worked at Microsoft on the Windows team for a long time, and this resulted in a unique opportunity to share one of my photos with the world. Learn how a photograph I took on vacation in Canada ended up on millions of PC’s running Windows 7.
This post explores some of the design challenges in adapting an existing website to a touch-first modern application. While the focus is the Windows 8 design language, most of these points are also applicable...
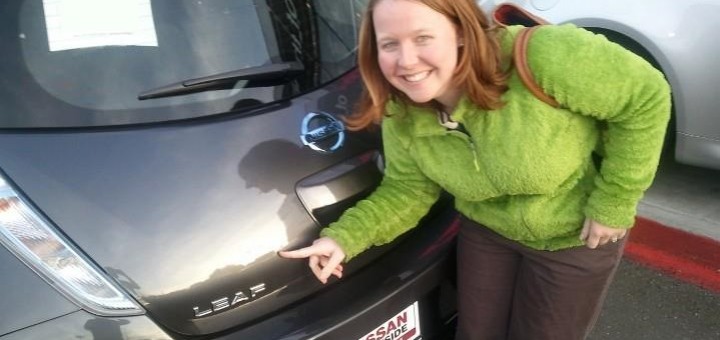
After much discussion, consideration and research, we made the decision to purchase an all-electric car. (We test-drove both the Nissan Leaf and Chevy Volt back in 2010.) This purchase was made with full understanding...
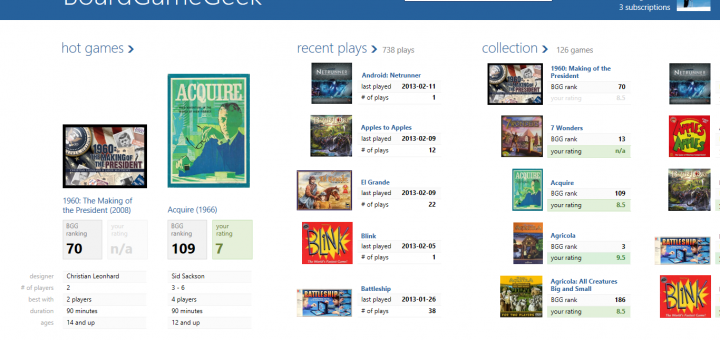
A lot of attention paid in recent years to the big online social media sites such as Facebook, but some of the most interesting destinations on the web are those websites dedicated to a...
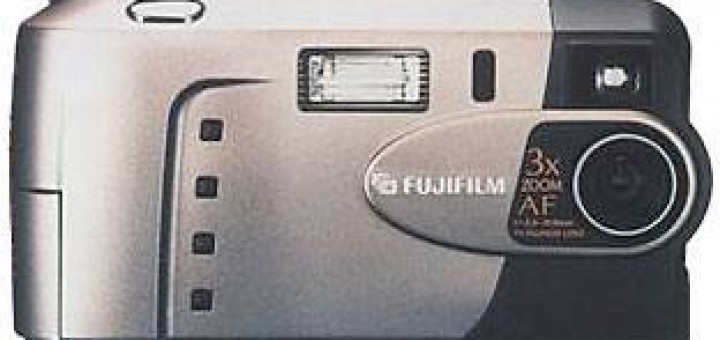
I’ve been interested in photography in varying degrees since middle school. Over the years, I’ve had a handful of disposable film cameras, a decent Olympus 35mm point and shoot (with a zoom) and the...
I’ve completed a major update to my National Park Service Checklist application, adding the ability to view and record your visit to all of the sites in the National Park Service. This includes the...
I’m pleased to announce my second app for the Windows Phone 7 platform. The application follows in the footsteps of Fifty States app, offering a crafted application experience for tracking your visits to the...
Many folks set aspirational goals such as visiting every continent, climbing every mountain over a certain height or running your first marathon. A common goal of many Americans is to visit all 50 US...
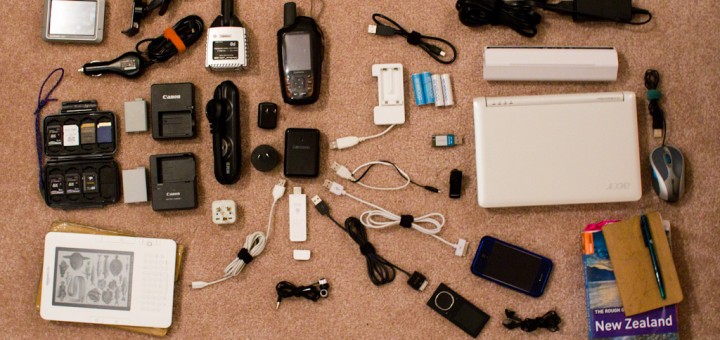
I love to travel, and I get a lot of pleasure out of having the right tools to enjoy my trip, and to document the trip in a variety of ways. This Christmas, we...
This month, we got the opportunity to test two of the front-runners of the race to build and sell a mainstream plug-in electric vehicle. Both cars were designed with different tradeoffs in mind, and...
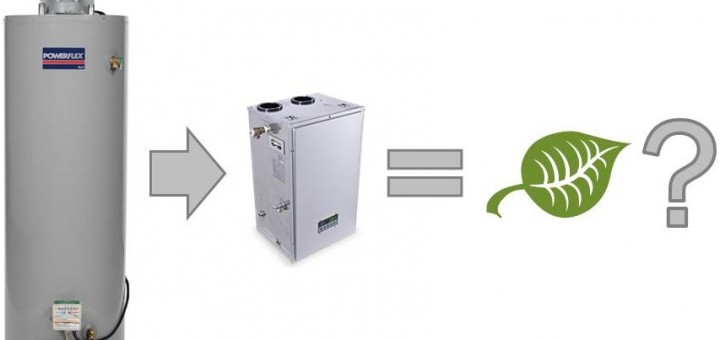
We have needed a new water heater for a few months, since discovering that our hot water was slightly discolored with rust. (Harmless, but kinda gross and indicative of bigger problems with our nearly...


 TOM ALPHIN builds